Octoprint is not new or exciting. But I figured it was still worth writing about.
If you have a 3D printer, you should consider Octoprint.
I first looked into Octoprint while waiting on my Prusa i3 Mk3S to arrive from Europe. It only took about four years for me to get around to incorporating it. While I can't say I think it's going to be life-changing, I can say Octoprint goes a long way to turning my 3D printer into more of a printer and less of a stand-alone appliance.
If you don't already know , without something like Octoprint, you have to manually save files to an SD card, get out of your chair, walk to wherever your printer is, and insert the SD card into your printer. Then you have to fiddle with fidgety knobs to select the file and start the print.
While that's not the end of the world , it is not nearly as convenient as pushing a couple of buttons on the same PC you used to create the object you want to print. By using Octoprint and one of its many plugins, I can actually send and start a print from remote. Assuming the print bed is clear and clean, of course.
The Prusa printer came with design features that allow you to add a Raspberry Pi Zero W and Octoprint as part of the control section in the printer. I applaud that, but doing it requires quite a bit of time and permanent modification of the hardware. I wanted to be able to UNDO my install if something proved this whole effort a mistake.
I opened OpenSCAD and created a mount I could use to mount the Pi and camera to the printer.
This simple bar allows me to mount the Pi and camera to the side of the printer.
I used one of my favorite methods for mounting Pi stuff: standoffs. A set of M2.5 plastic standoffs does the trick. All I needed now was a way to mount the camera so it was adjustable. I use a series of H-shaped parts to allow for rotation on the X, Y and Z axis. Unfortunately, my first draft was missing an important Y axis rotation point, but that was easily solved.
This attaches to the tops of the standoffs above the Pi PCB.
This attaches to the base in the previous image. The pivot holes allow for X rotation.
As you can see in the Gallery shots, two of these are married to allow for Z axis rotation.
This attaches to the camera PCB and then to one of the H bracket halves.
Gallery: Building the Hardware
If you pay close attention, you will see there are flat washers in strategic places. Also you will notice the use of Nylock nuts. These two points are what make the whole thing work without the need for constant tweaking. Snug the joints to the proper tightness, and you get smooth rotation AND things stay where you leave them indefinitely.
The Time-Lapse Video function is nice, but not necessary. It is momentarily cool to share, but not like cat vids where there is unlimited interest.
Here is the first one created by my Optoprint installation.
The First Timelapse Video:
See? Cool, but not OMG!! cool.
The software installation for this project was pretty painless. The instructions on the Octoprint site were adequately clear. If you need help, email me. I'll try to answer your question best I can.
Octoprint running on OctoPi meets the criteria to be called A Thing That Works .
If you would like a copy of the OpenSCAD files, let me know. I'm happy to share.
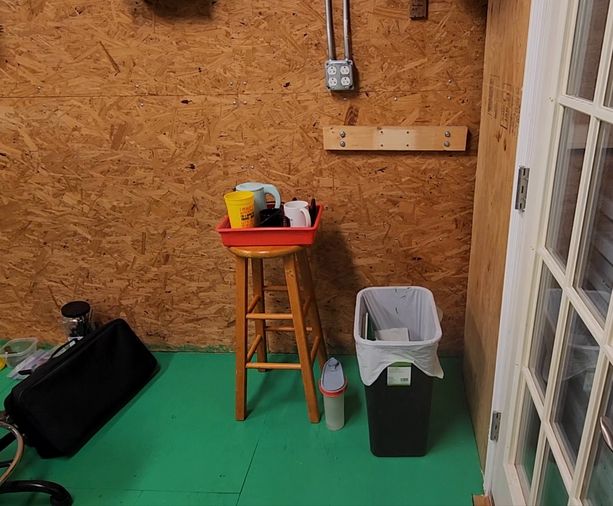 This is how we made coffee before. It was, let's just say . . . not fun.