
LilWeatherPi is the newest member of the PiNet family.
Why another WeatherPi? Well, I was concerned that my humidity readings may be skewed by the proximity of WeatherPi (the original) to the pool. There are times when the air is completely still, and I have actually measured the humidity with a portable hygrometer and discovered a significant variation between the readings near the pool and those a bit further away.
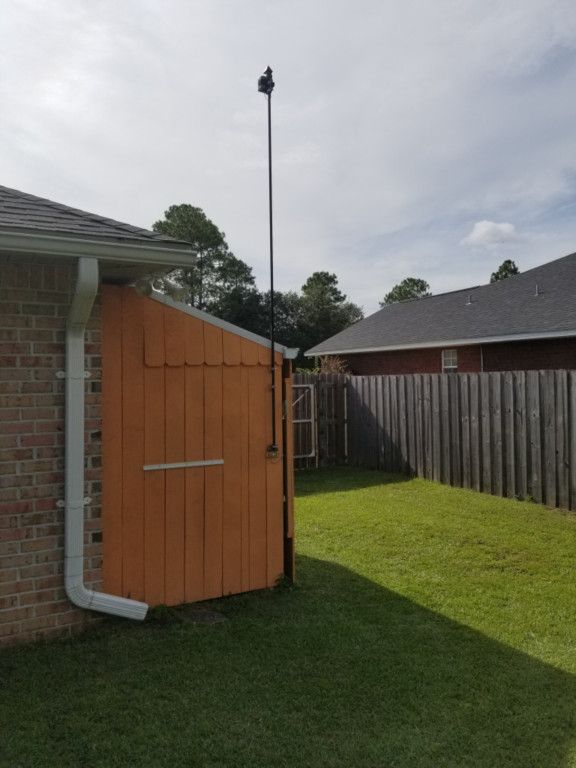
So, I decided the best way to handle this situation was to create a second WeatherPi to measure temperature and humidity at a location further away from the pool.
A second motivator was the purchase of a rechargeable battery backup board. I saw the LiFePO4wered board on Hackaday.com, and bought one. So I was eager to try creating a battery-powered device with it. This new WeatherPi seemed like the perfect use for it.
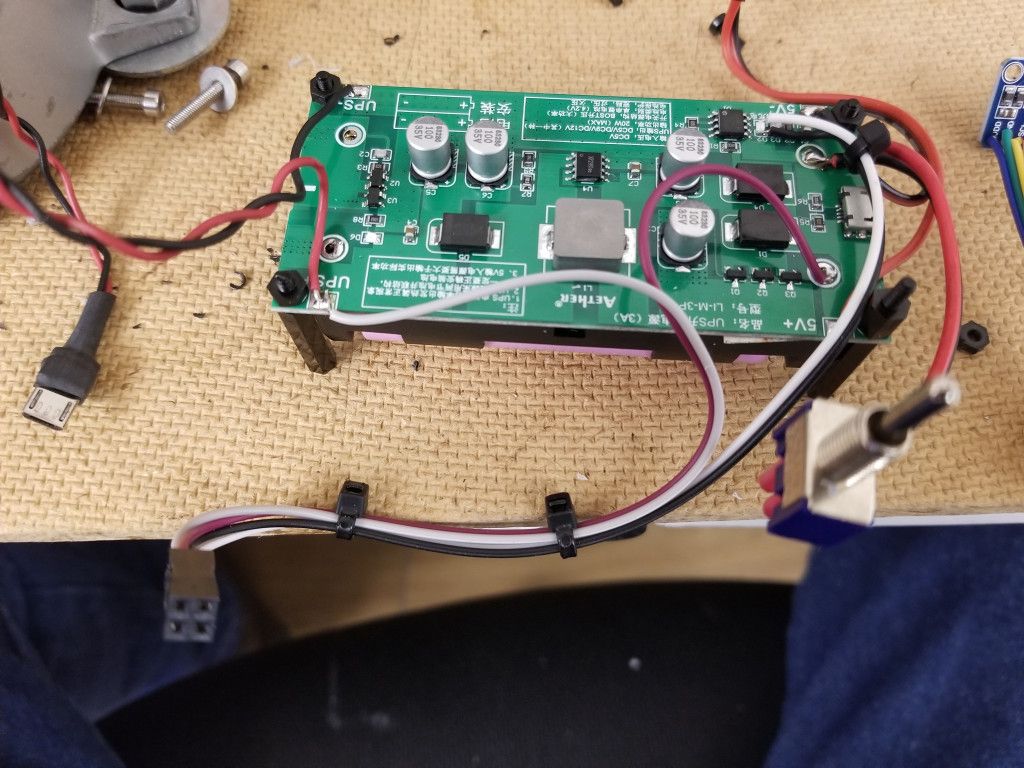
As it turns out, the LiFePO~4~wered board died a horrible death at my hand, and was replaced by a much less expensive and more generic 18650 UPS board from Amazon. Since I have eight of the 18650 lithium cells out of a retired laptop, it makes sense to use them. This solution is working wonderfully.
LilWeatherPi has these parts: (links provided for convenience, I do not 'click-through'.)
- (2) Lithium rechargeable 18650 cells recovered from an old laptop.
- (the battery pack was purchased recently before retiring the laptop, so the cells were relatively new. I just had to tear the laptop battery apart to get them out.)
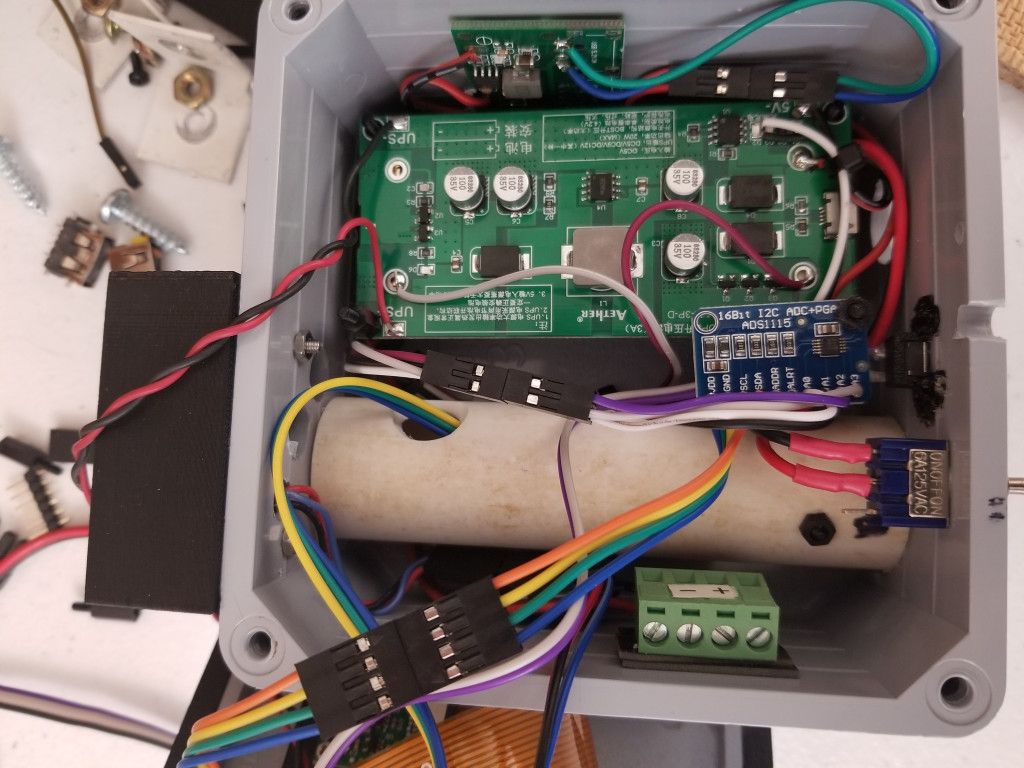
- The aforementioned 4-in-1 UPS board.- $15.99
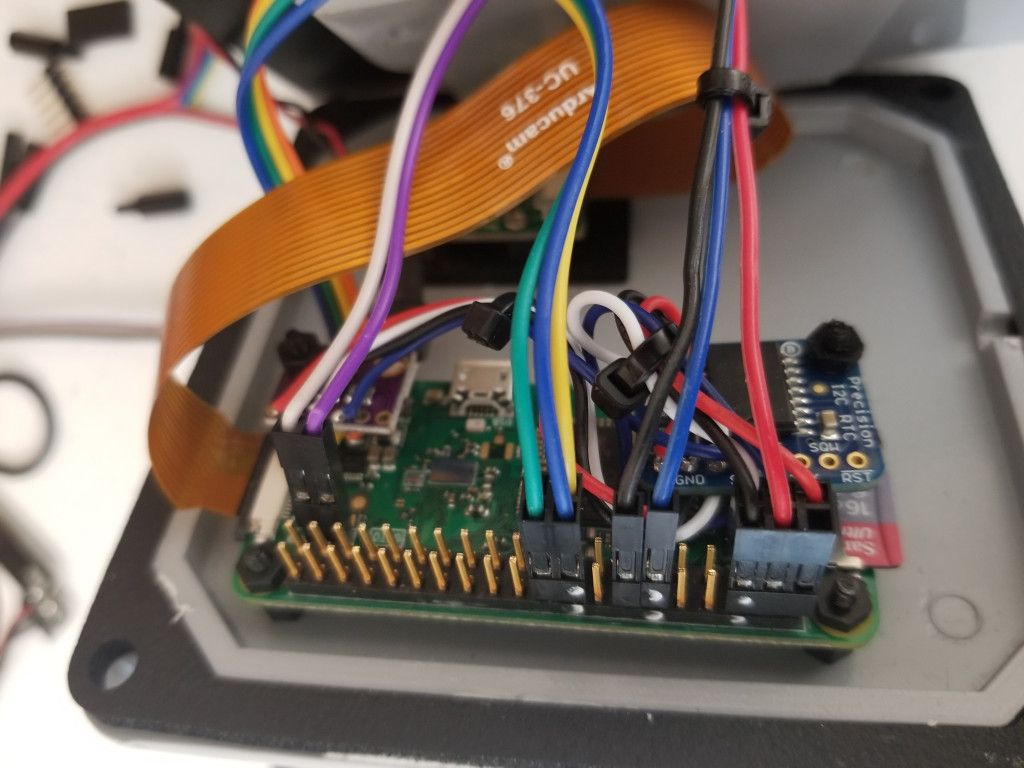
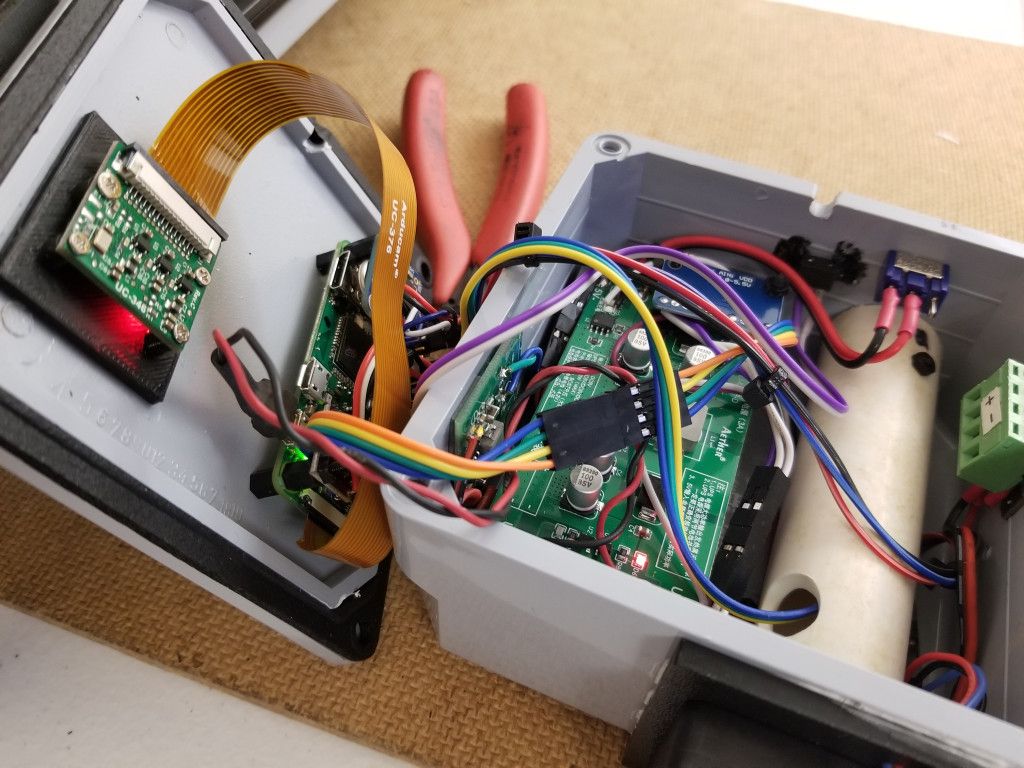
- Raspberry Pi Zero W - $10.00
- SanDisk Ultra 16GB microSD card - 3-pack $17.35
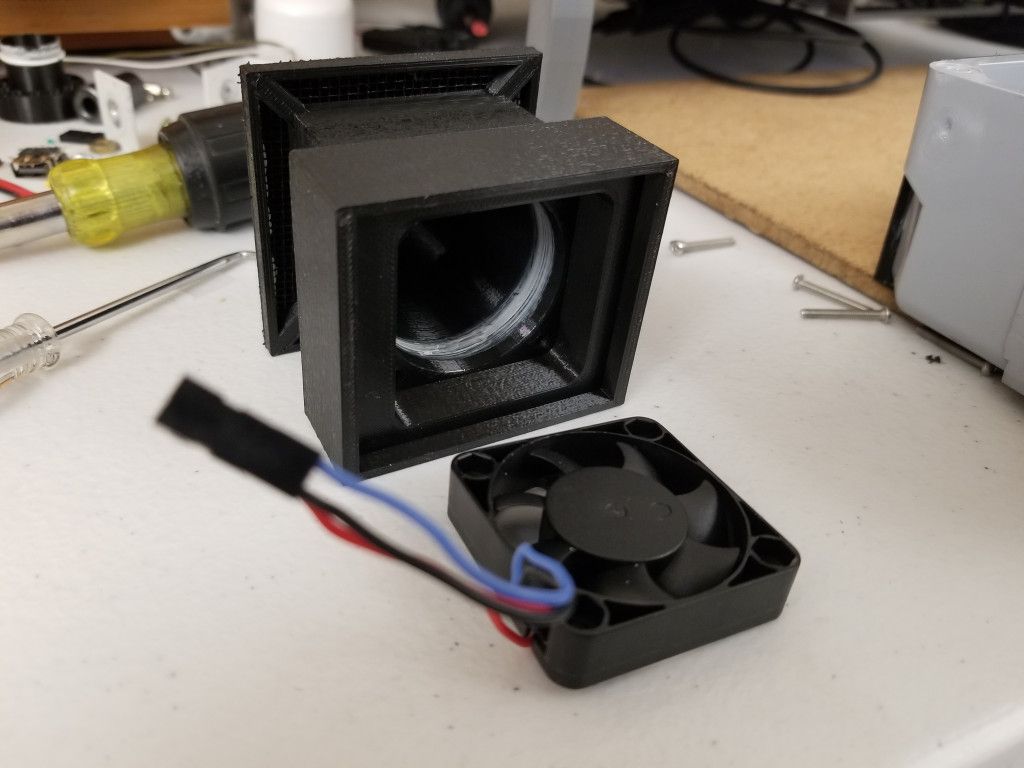
- PWM Controllable Fan - 2-pack $10.99
- Arducam for Raspberry Pi Zero Camera Module, 5MP 1080P - $13.99
- Adafruit DS3231 Precision RTC Breakout [ADA3013] - $19.33 on Amazon
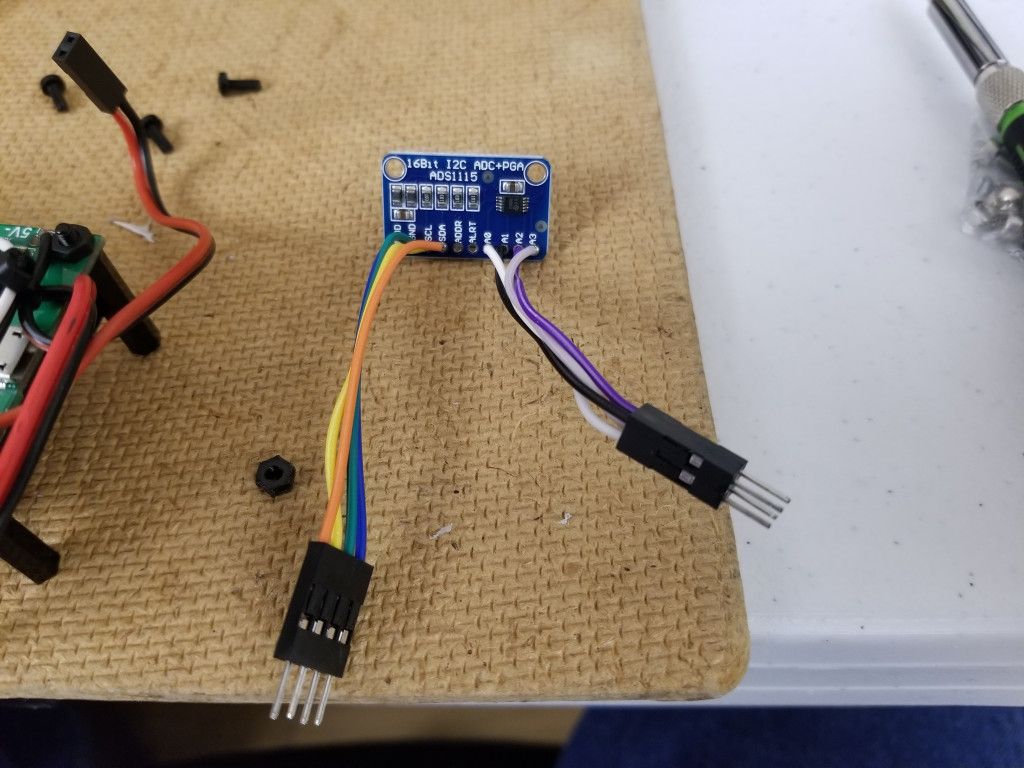
- ADS1115 4 Channel I2C Analog-to-Digital ADC - 3-pack for $16.99 on Amazon
- MakerHawk Buck Regulator Step Down Power Supply Module - 4-pack $8.49
- BME280 3.3V Atmospheric Pressure, Temperature, Humidity Sensor Module
- DHT22/AM2302 Digital Temperature, Humidity Sensor - 2-pack $14.49
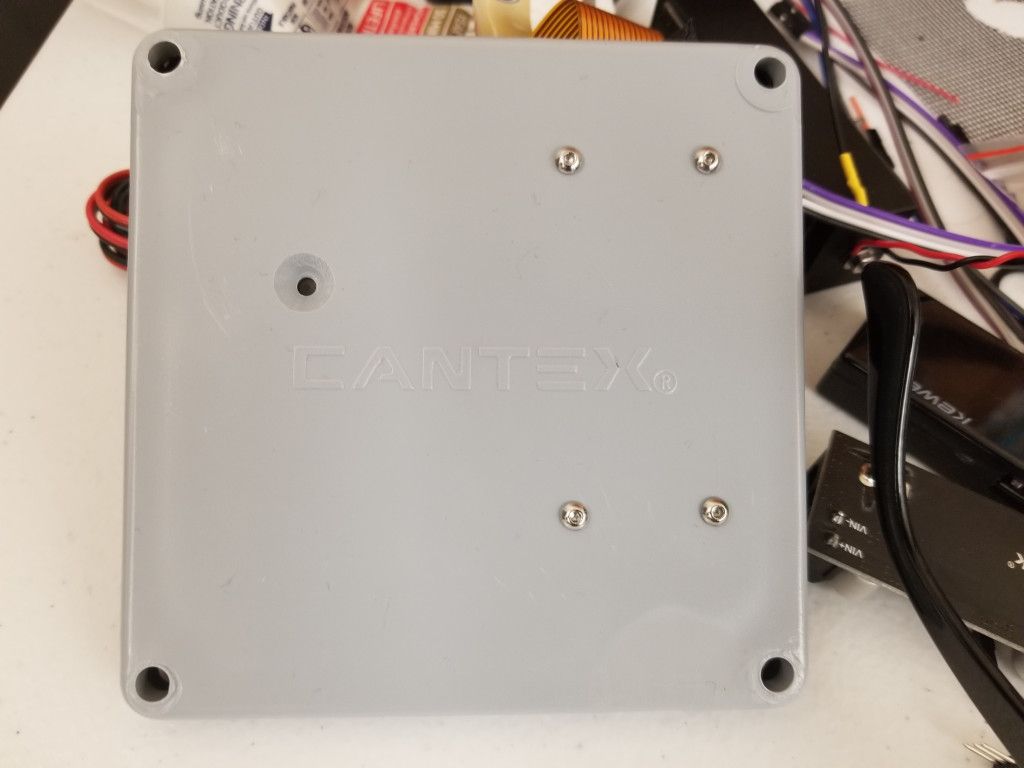
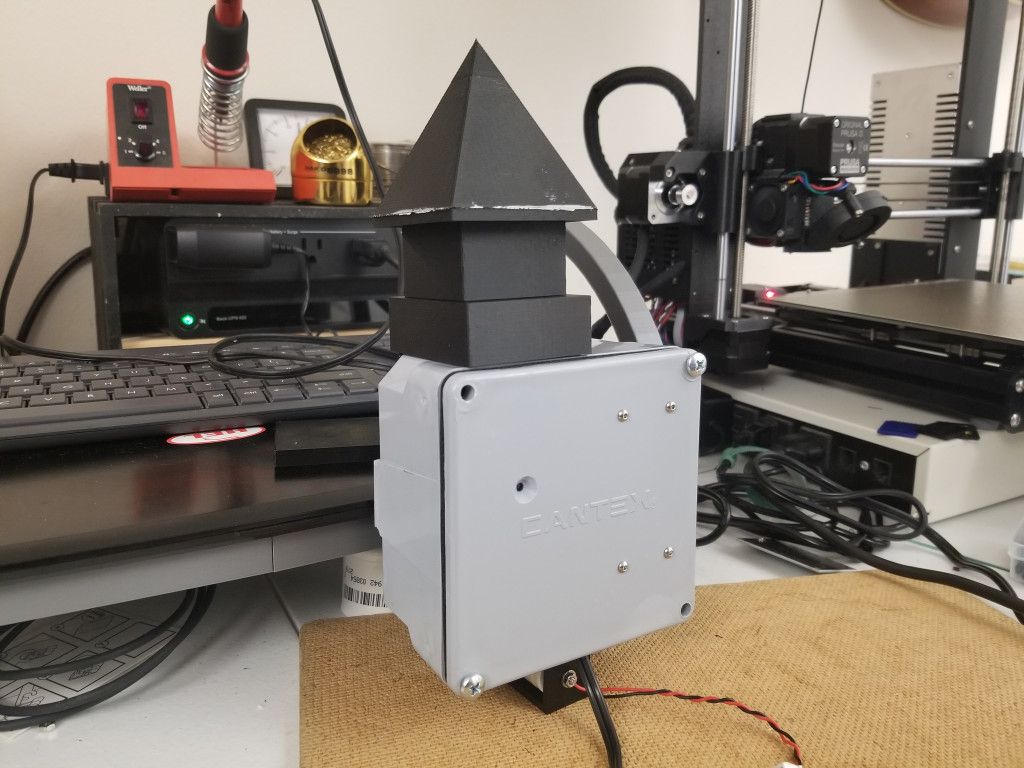
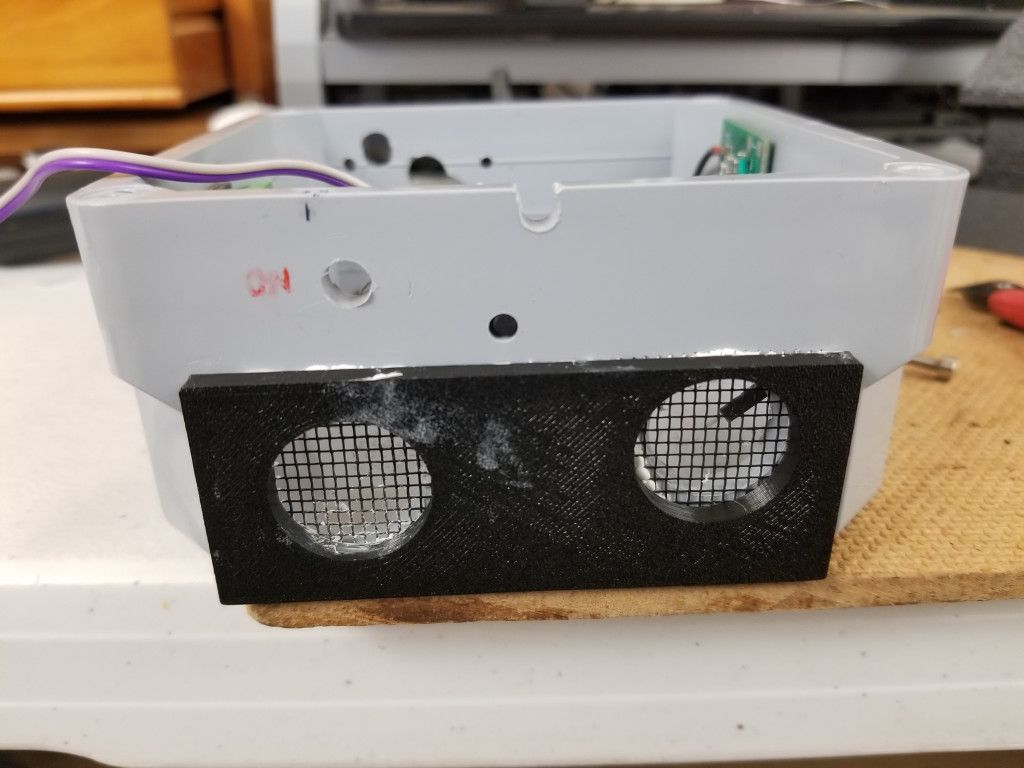
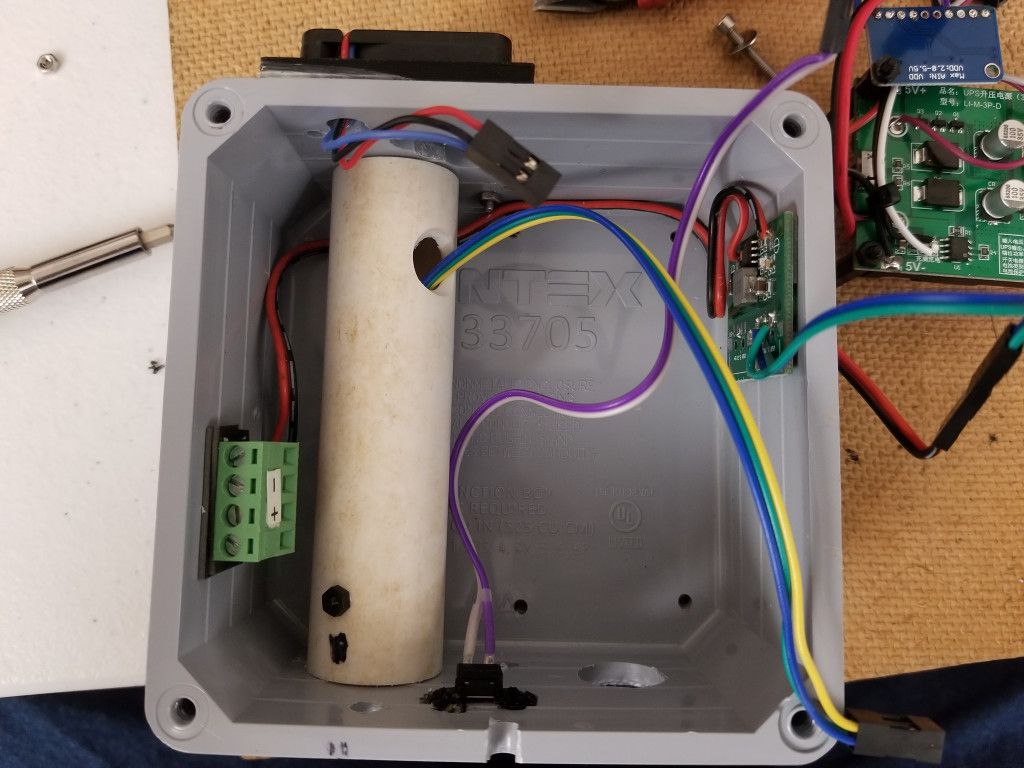
- 4" square water-tight PVC electrical box.
- 3x3" fiberglass screen repair kit. $3.78 at Lowes
- A selection of 2.5 or 3mm fasteners. I only use nylon or stainless steel.
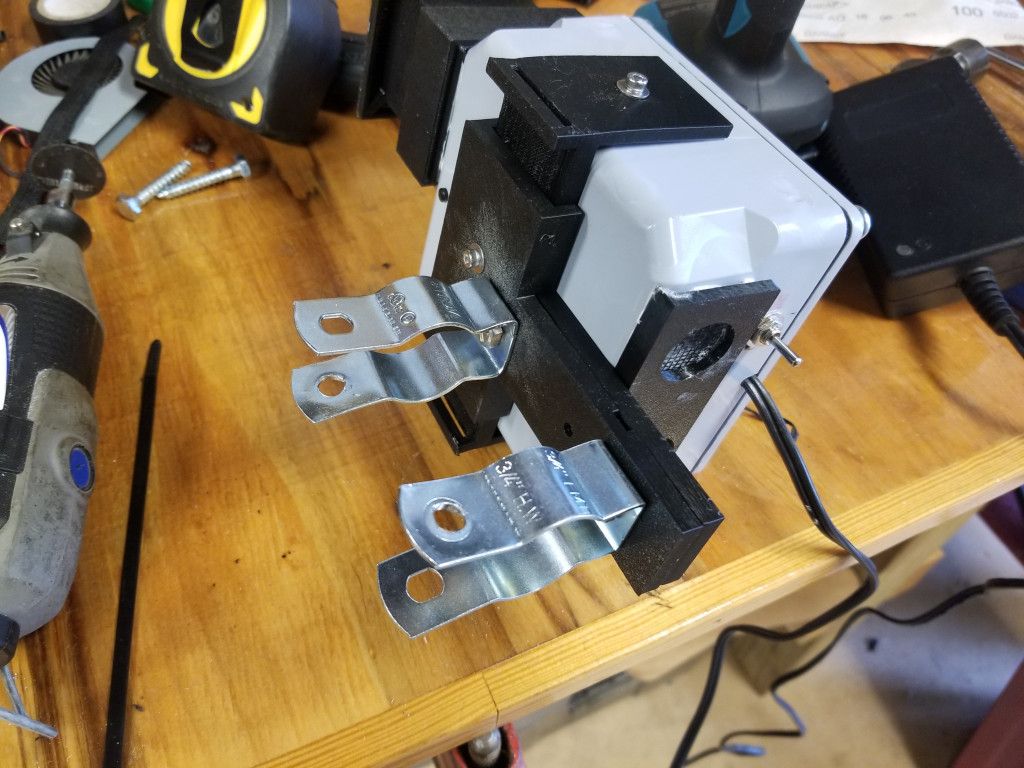
- 10' - 3/4" black iron pipe. - $34.97 at Lowes
- (1) door hinge of any vintage.
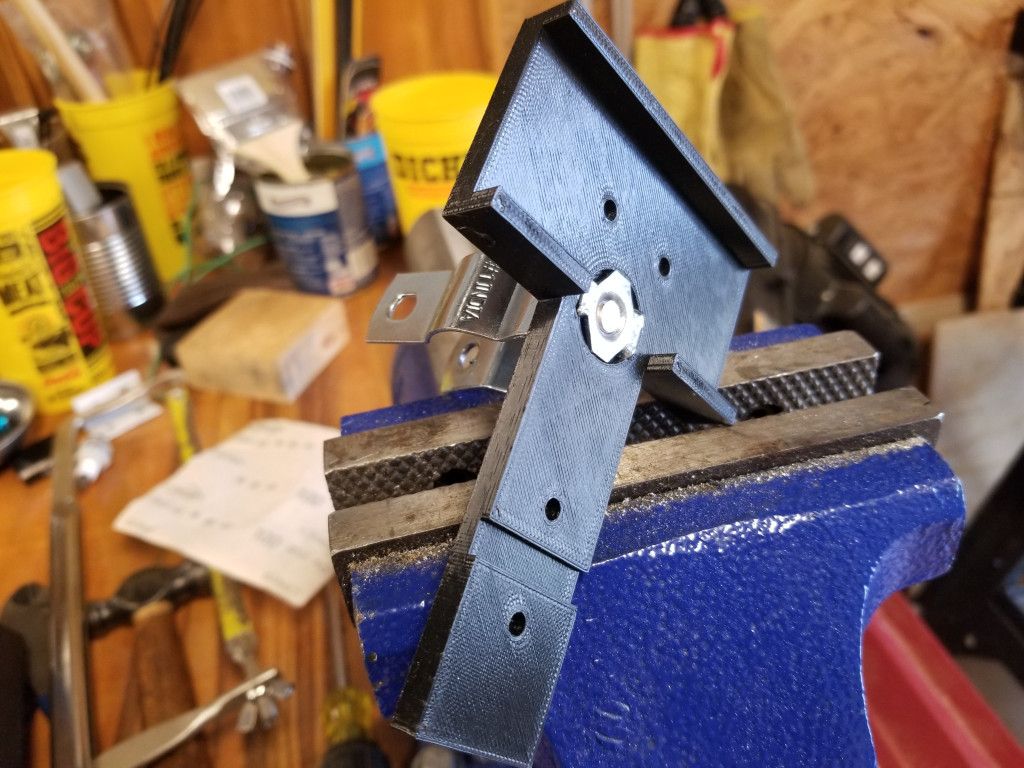
- (3) 3/4" conduit hangers.
- (6) or so 1/4" x 1-3/4" lag bolts.
- Some AWG 16 (or 18) 2-conductor wire to bring 12VDC power to the Pi.
- Some sort of 12VDC power supply. I just chose one from my supply of salvaged wall-warts. (never throw anything away!)
- And of course, you have to figure out how to get power from your 120VAC service to the Pi on the pole.
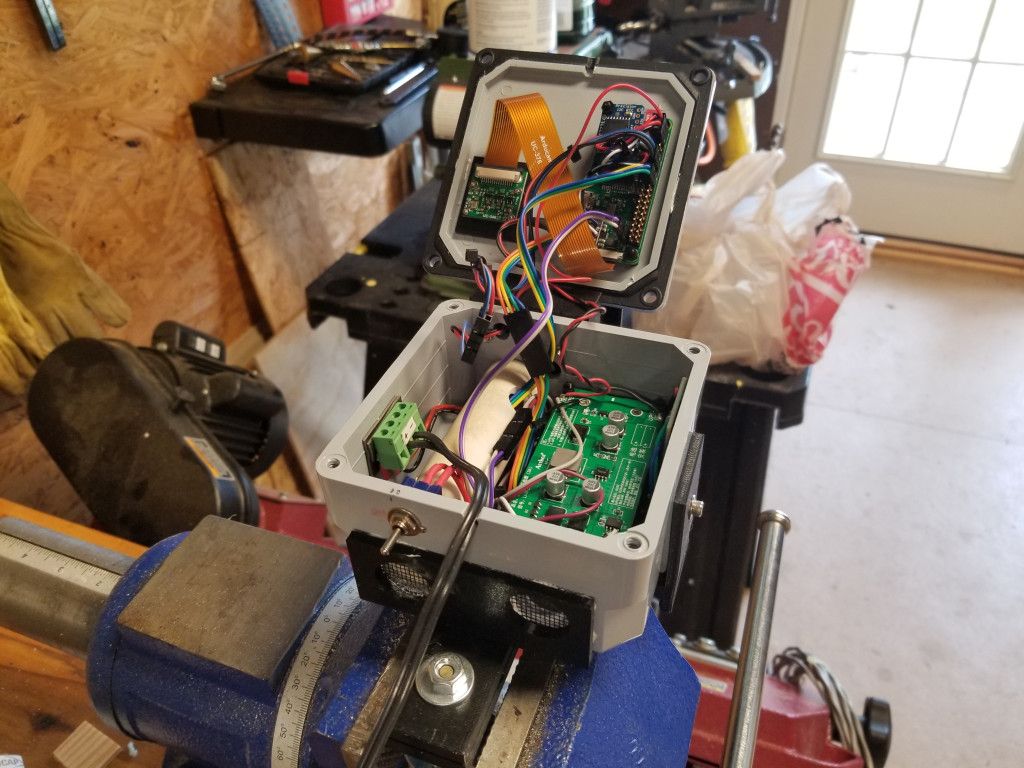
Here's what and why for these parts:
Camera: the camera allows me another opportunity to view the sky conditions, and at the same time covers some previously hidden parts of my property in Zoneminder.

DS3231 Real-Time Clock Module: I normally provide one of these to a Pi project so it can keep accurate logs even when not connected to the Internet. I like this module both for its accuracy and the replaceable coin cell battery.
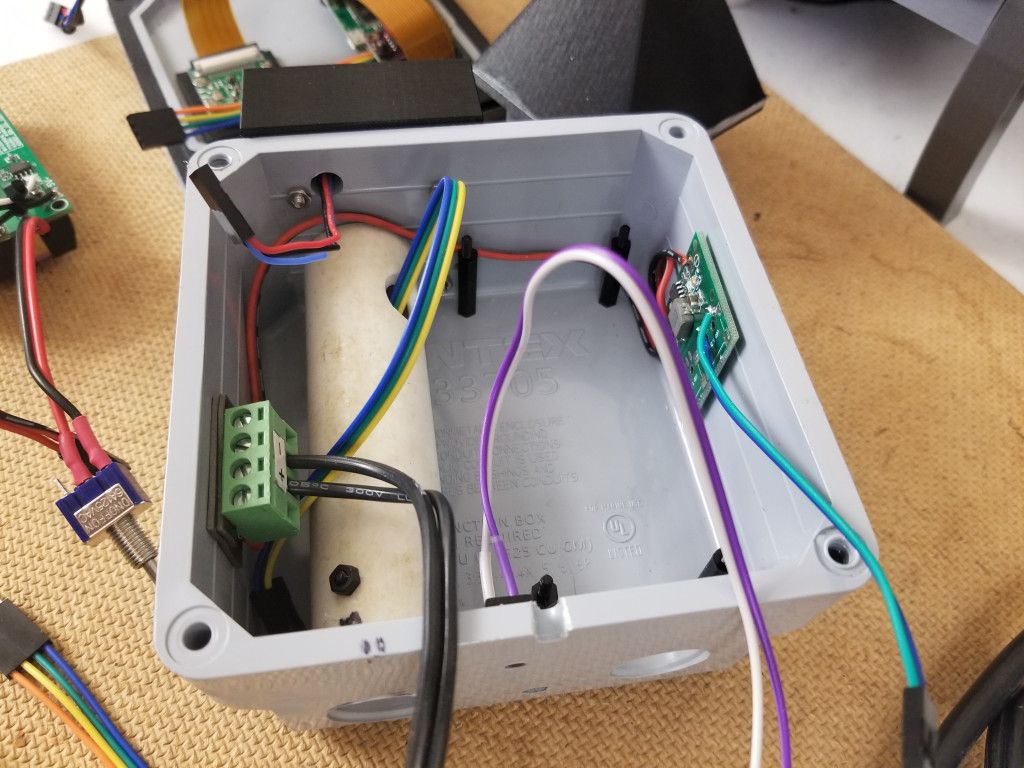
ADS1115 4-channel ADC: I'm using this to monitor voltages to and from the battery backup board. It works really well. This is the same board I'm using on the big WeatherPi to read wind direction voltages, so it could be used for that on this LilWeatherPi if I so chose.
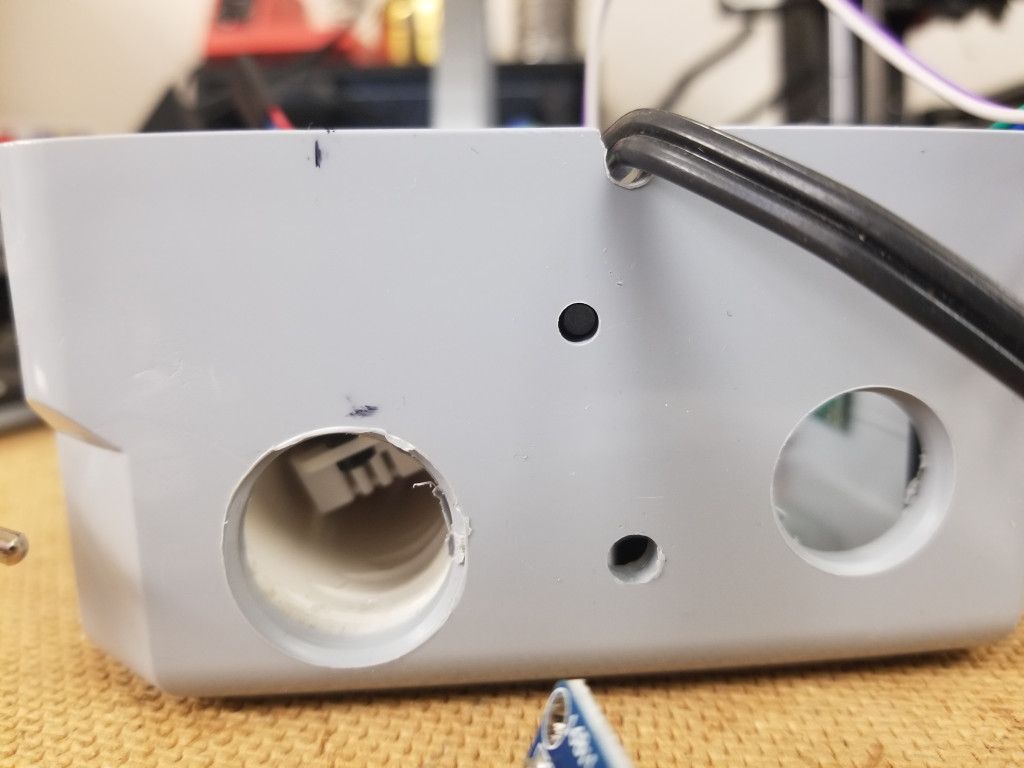
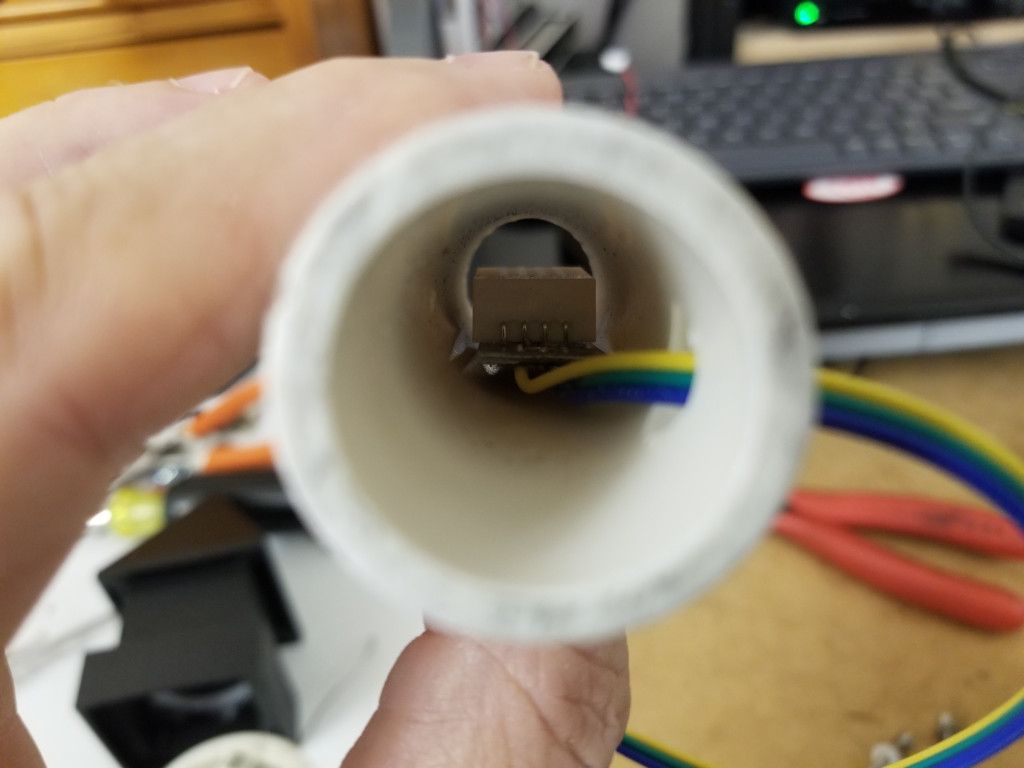
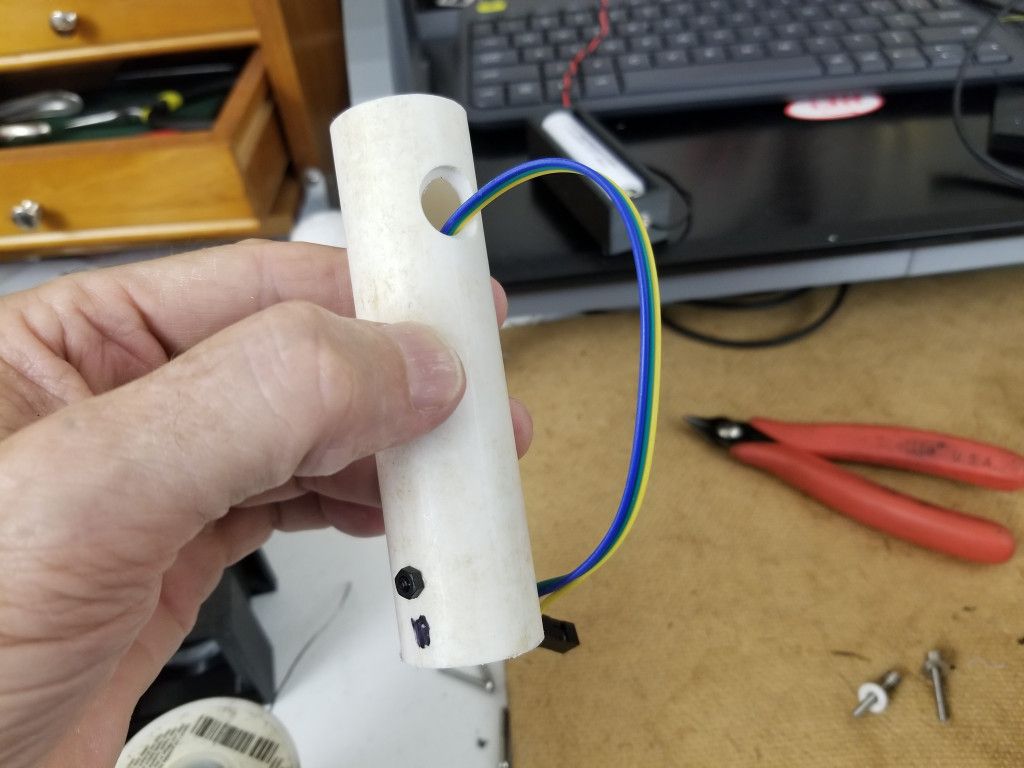
DHT22: The DHT22 is a very accurate temperature and humidity sensor. It lives inside the chimney that runs up the interior of the LilWeatherPi housing.
BME280: This sensor is good for atmospheric pressure, and while it does read temperature and humidity, it's not as accurate as the DHT22 for those readings. I do use it to track temperature inside the electronics side of the enclosure simply because it's there and why not?
MakerHawk Step-down Buck Regulator: I chose this guy because of its size, and the fact that the UPS board does not require much amperage to function adequately. I had these from a previous project, so it was a no-brainer. 12VDC in, 5VDC out.
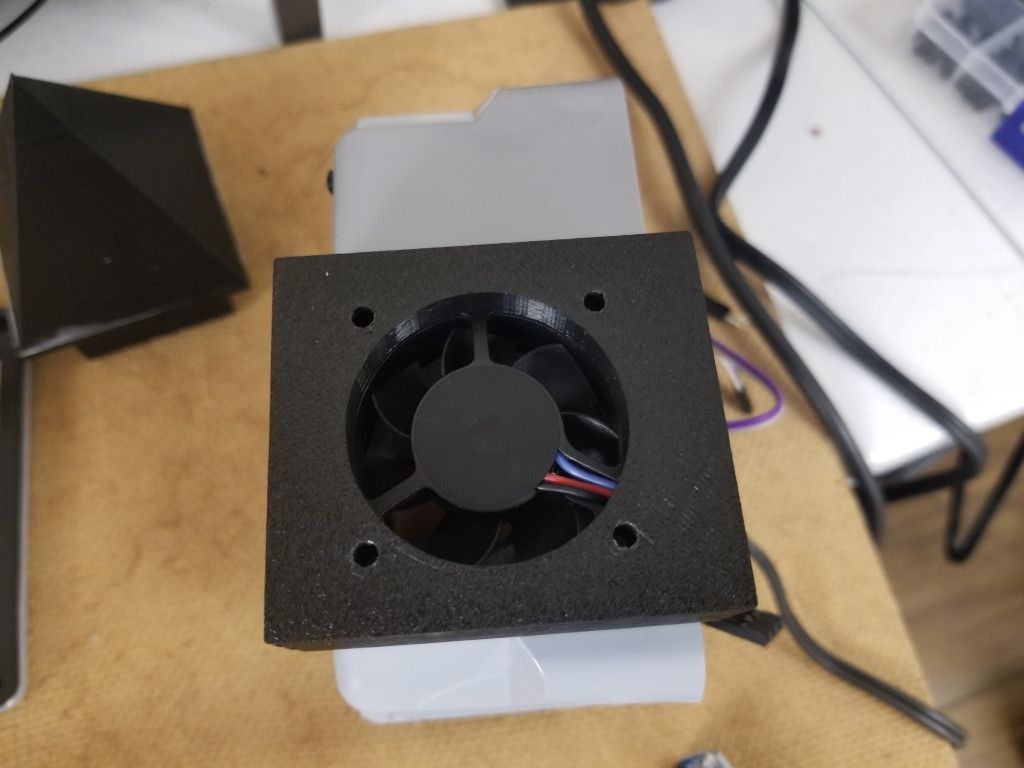
PWM Controllable Fan: This fan pulls fresh outside air up the chimney and across the DHT22 sensor. It also pulls air up into the electronics side of the enclosure to cool the components.
That's a quick overview of LilWeatherPi.
Next on the agenda:
Currently the camera stream is active, and I can get readings using SSH. I will incorporate LilWeatherPi's readings into the mySQL database that runs on Brilliant. I'm planning to average those readings with those from WeatherPi to provide a more accurate data-set to my local displays and to PWSweather.com.
At this point in time, LilWeatherPi is another Thing That Works!
