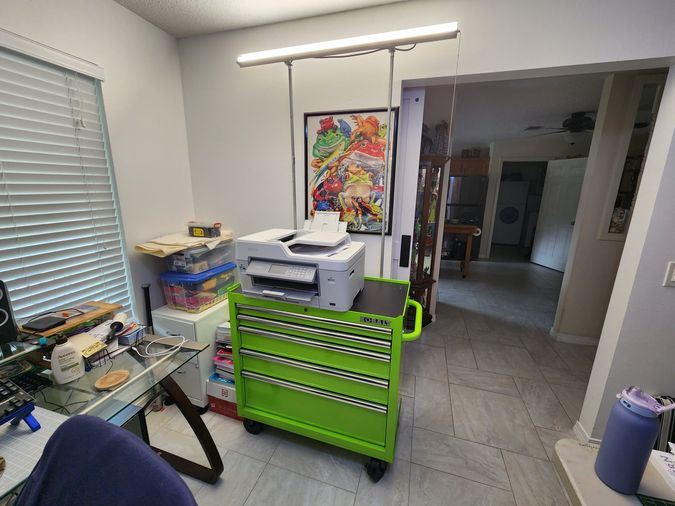
 Made from materials I had on hand, this light stand more than just meets the need. It actually looks pretty good, imho. Not Tiffany good, but decent enough.
A New Hobby
My wife got a Brother Scan-n-Cut, and a whole new world of craft was born. Like any hobby, getting the first thing is just the first thing. There is a plethora of other things that must be purchased to support the new habit, er, ah, hobby.
The thing that never ends with this hobby is paper. She makes all of our cards these days. Birthday, graduation, wedding, Christmas, you name it. She and YouTube and her amazing tool do a really good job. The cards are amazing, there is no doubt about that.
These cards require very special and specific paper. You don't make these things out of 20lb copier paper.
The accumulation grows, and all that paper has to live somewhere. So she bought it a condo in the form of a really nice tool chest. Which also has to live somewhere. Her craft room is already . . . let's just say 'crowded'. Adding this Paper RV was going to be a challenge.
We solved the problem by moving a bookshelf out of the room. It was really the only thing we could move. But there was one slight problem. The LED shop light that provided her working light had been zip-tied to the top of that bookcase, angled up to reflect light off the ceiling. It was both wonderful and necessary.
Parameters
There are a lot of ways to approach something like this. I start with requirements, then morph those into parameters. I follow that with a quick fresh inventory of what's on hand to work with. Then I slosh all that around in my brain housing group and see what pops out.
The requirements were: 1) It needed to mount to the tool chest. 2) It needed to put the light fixture near the ceiling. 3) It needed to be petite. 4) It needed to be strong. 5) No holes should be drilled in the tool chest. 6) It should hide out of sight as much as possible. 7) It should not be embarrassing.
Methods
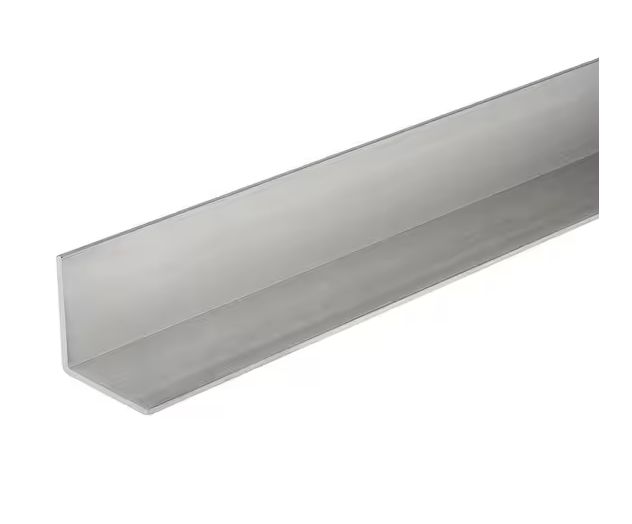
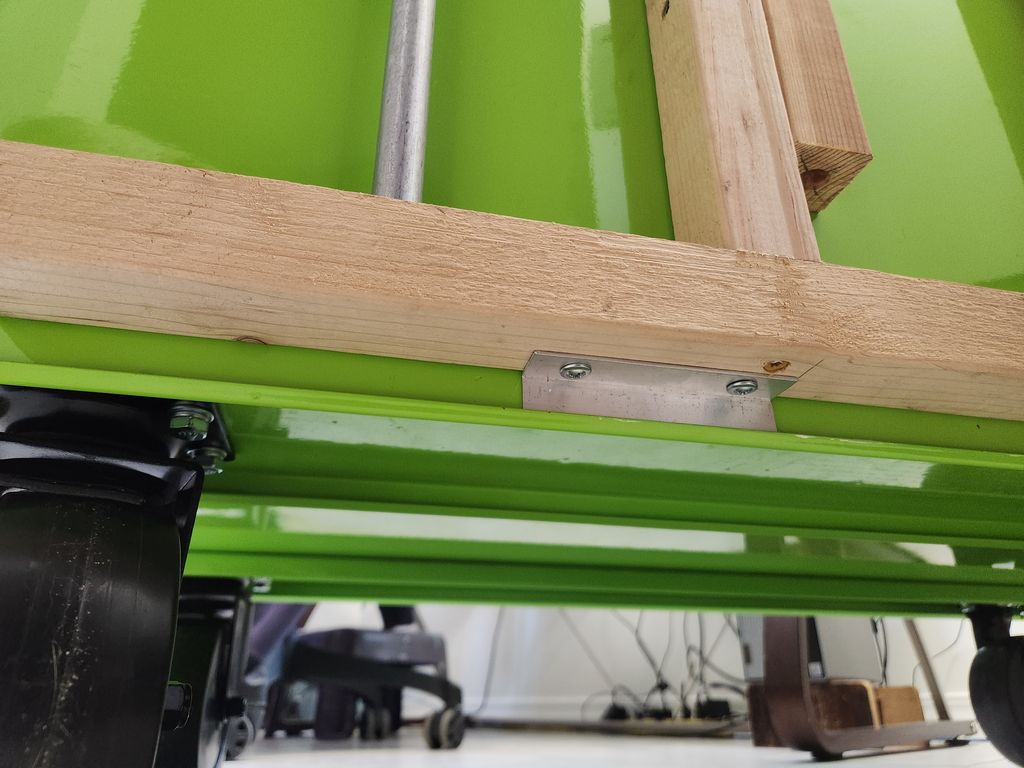
The back top and bottom edges of most tool chests are folded over. This is done to strengthen the edge, but it also provided me an inspiration. I could use that as an attachment point if I played my 'cards' right. I decided to use my 1-1/2" x 1-1/2" framing material (ripped from 2x4) and cut-to-length 1/2" aluminum angle brackets. If I put that together right, it would wedge the aluminum into those two folded edges and hold everything tight.
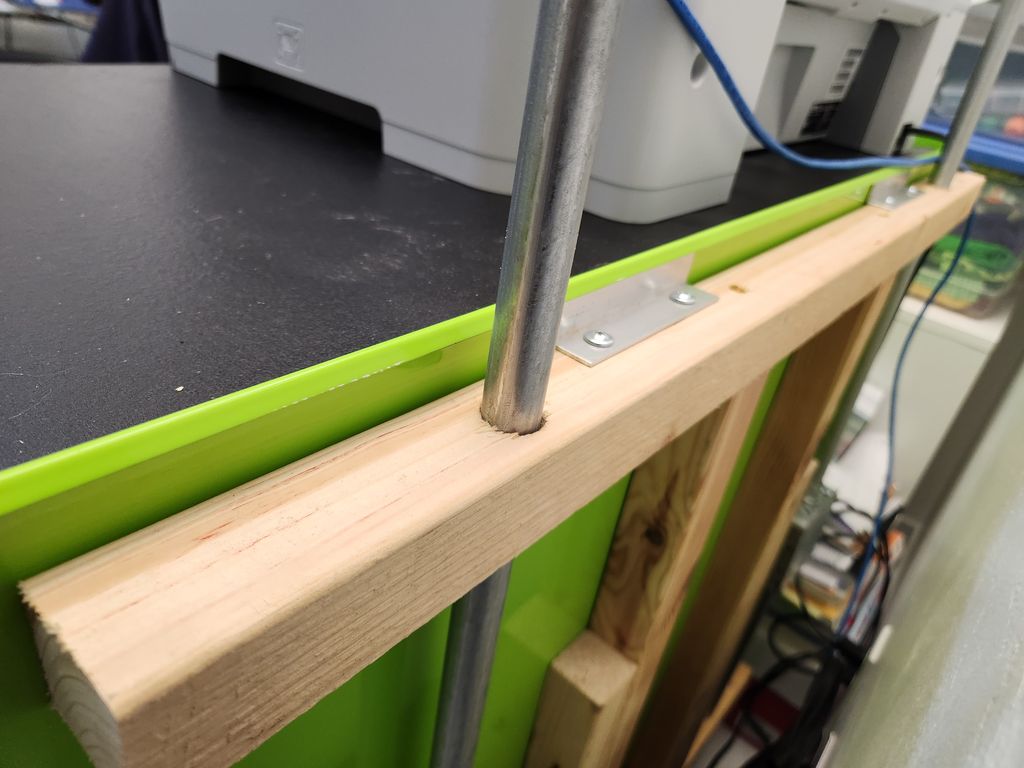
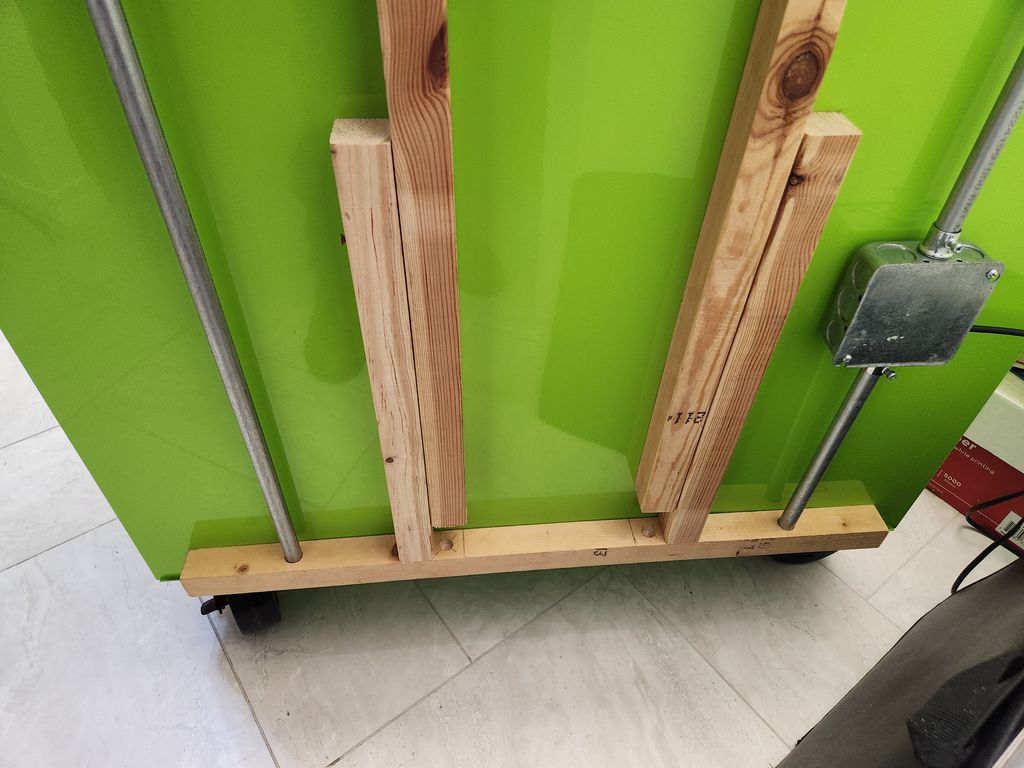
I had some 1/2" EMT conduit, and immediately decided that would be my poles. Two poles, in order to have stability. A bonus was the light fixture's cord could run down inside one of those conduits, and I could put a handi-box down low to make up a junction to a pig-tail with a plug. This was going to work great!
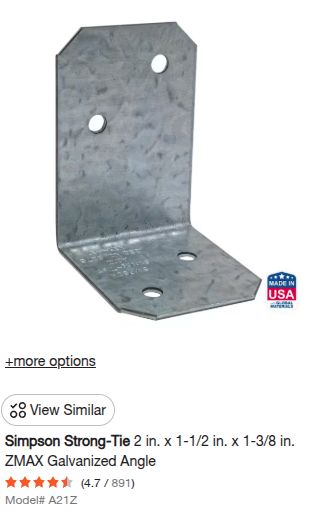
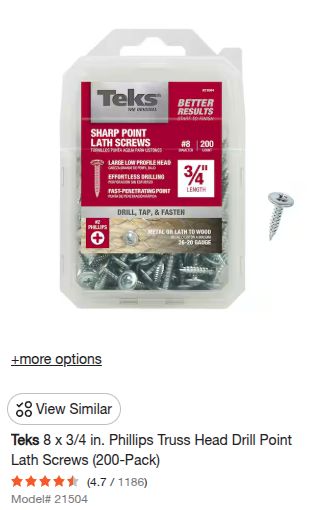
I needed a way to transition from the EMT to the fixture. Simpson Strong-Ties to the rescue. Having done my fair share of electrical work, I have the knockout needed for 1/2" EMT fittings, so I took a couple of my Simpson 90's, drilled a hole, and knocked out the hole for the connectors. Then I used self-tapping #8 x 3/4" lath screws to tie those brackets to the fixture.
I drilled 3/4" holes for the EMT through the top wooden brace, and 1" deep into the top edge of the bottom brace. Then I used 3-1/2" deck screws to add two 90-degree legs to the bottom of the top brace, and the top of the bottom brace. When the assembly is applied to the back of the tool chest, I shove the top up under the lip, and rest the bottom bracket's aluminum 90 in the bottom lip. A couple of clamps holds things still while I tie it together.
Then I used 2-1/2" deck screws to affix the legs together. That is pretty much it. It's solid as a rock.
Here's a light gallery so you can see the details:
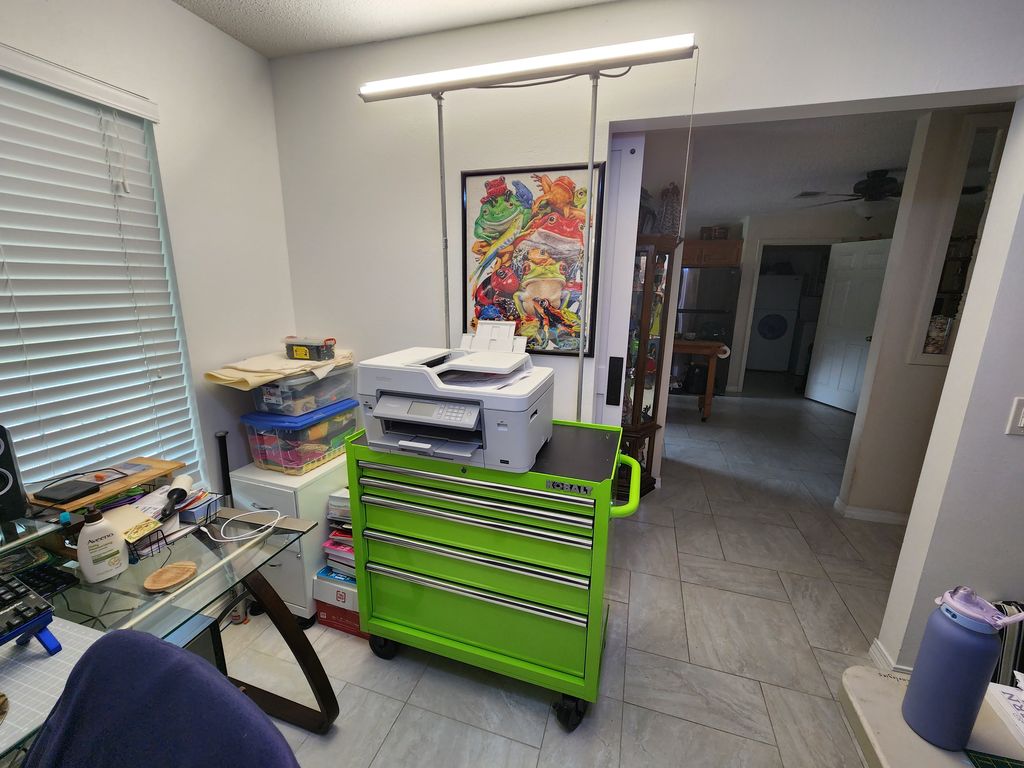
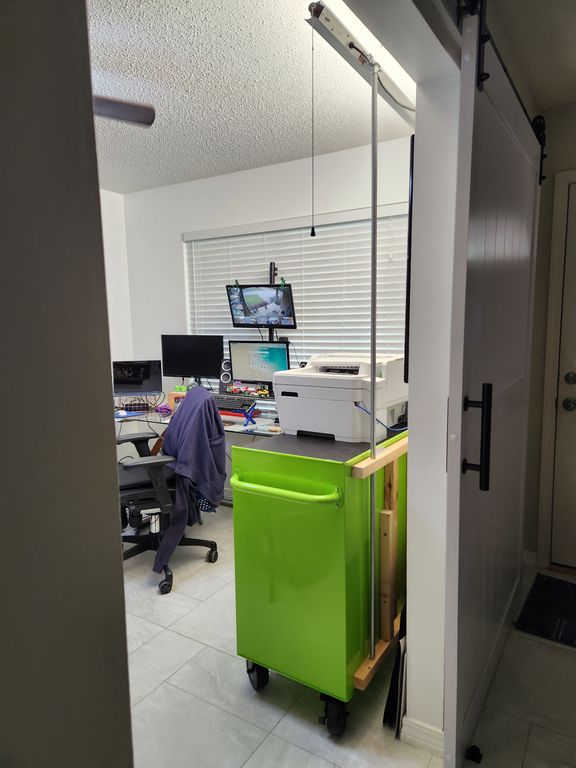
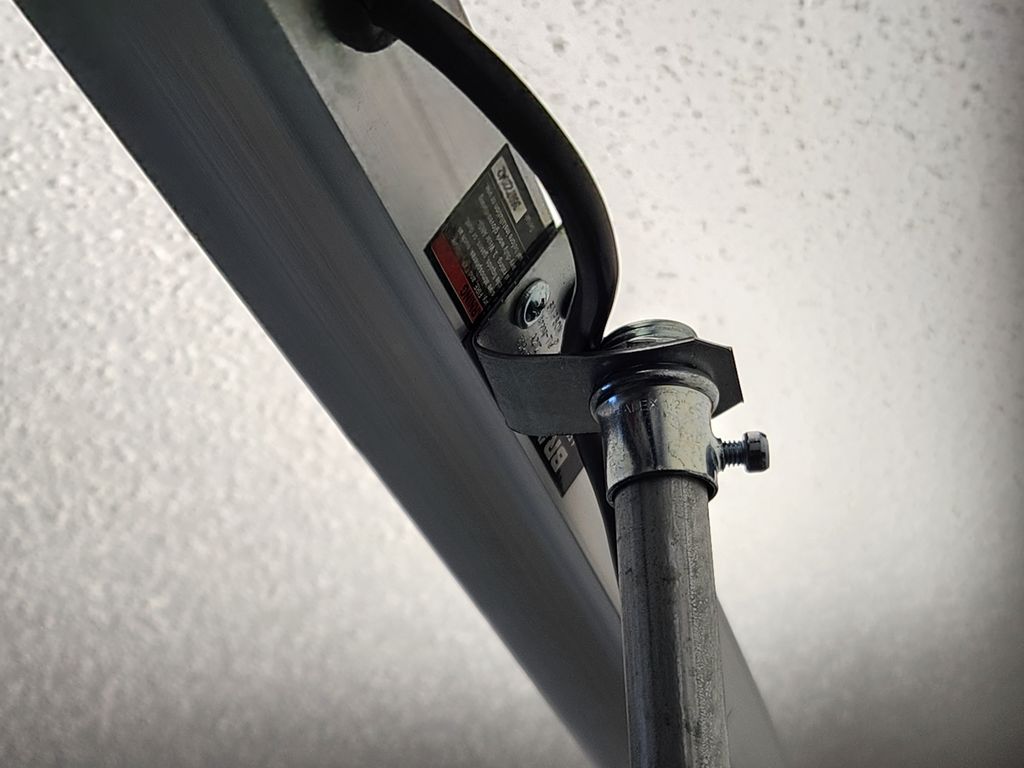
I share this saga because it's one of those things one of you might need or want to do one day. It's a very effective way to add some overhead light to a work space, and it's easy and pretty cheap. Because it can roll around with the tool chest, it is even more handy.
This simple home-made light stand is a a thing that works!. Makes me happy. Makes her happy, too!